Technical support
If you have any questions about the maintenance or safety of your Islabike, or feel unsure about any of the advice below, please contact our technical support team by phone +44 (0) 1584 708 383 or email techsupport@islabikes.co.uk.
We carry stock of replacement parts for your Islabike including inner tubes, tyres and grips. Please visit the accessories page or contact us on +44 (0) 1584 708 383 or email info@islabikes.co.uk.


Beinn 20/24/26/27
Multi-purpose bikes in various sizes from 5+ years.
Download specificationDownload manual
Creig 20/24/26/27
Hardtail mountain bikes in various sizes from 5+ years.
Download specificationDownload manual
Luath 24/26/700
Multi-surface dropped handlebar bikes suitable for road, gravel and cyclocross. Various sizes from 8+ years.
Download specificationDownload manual

Beinn XS/S/M
Multi-purpose adult bike, suiltable for adolescents and smaller adults.
Download specificationDownload manual
Creig
Hardtail mountain bike suitable for adolescents and smaller adults.
Download specificationDownload manual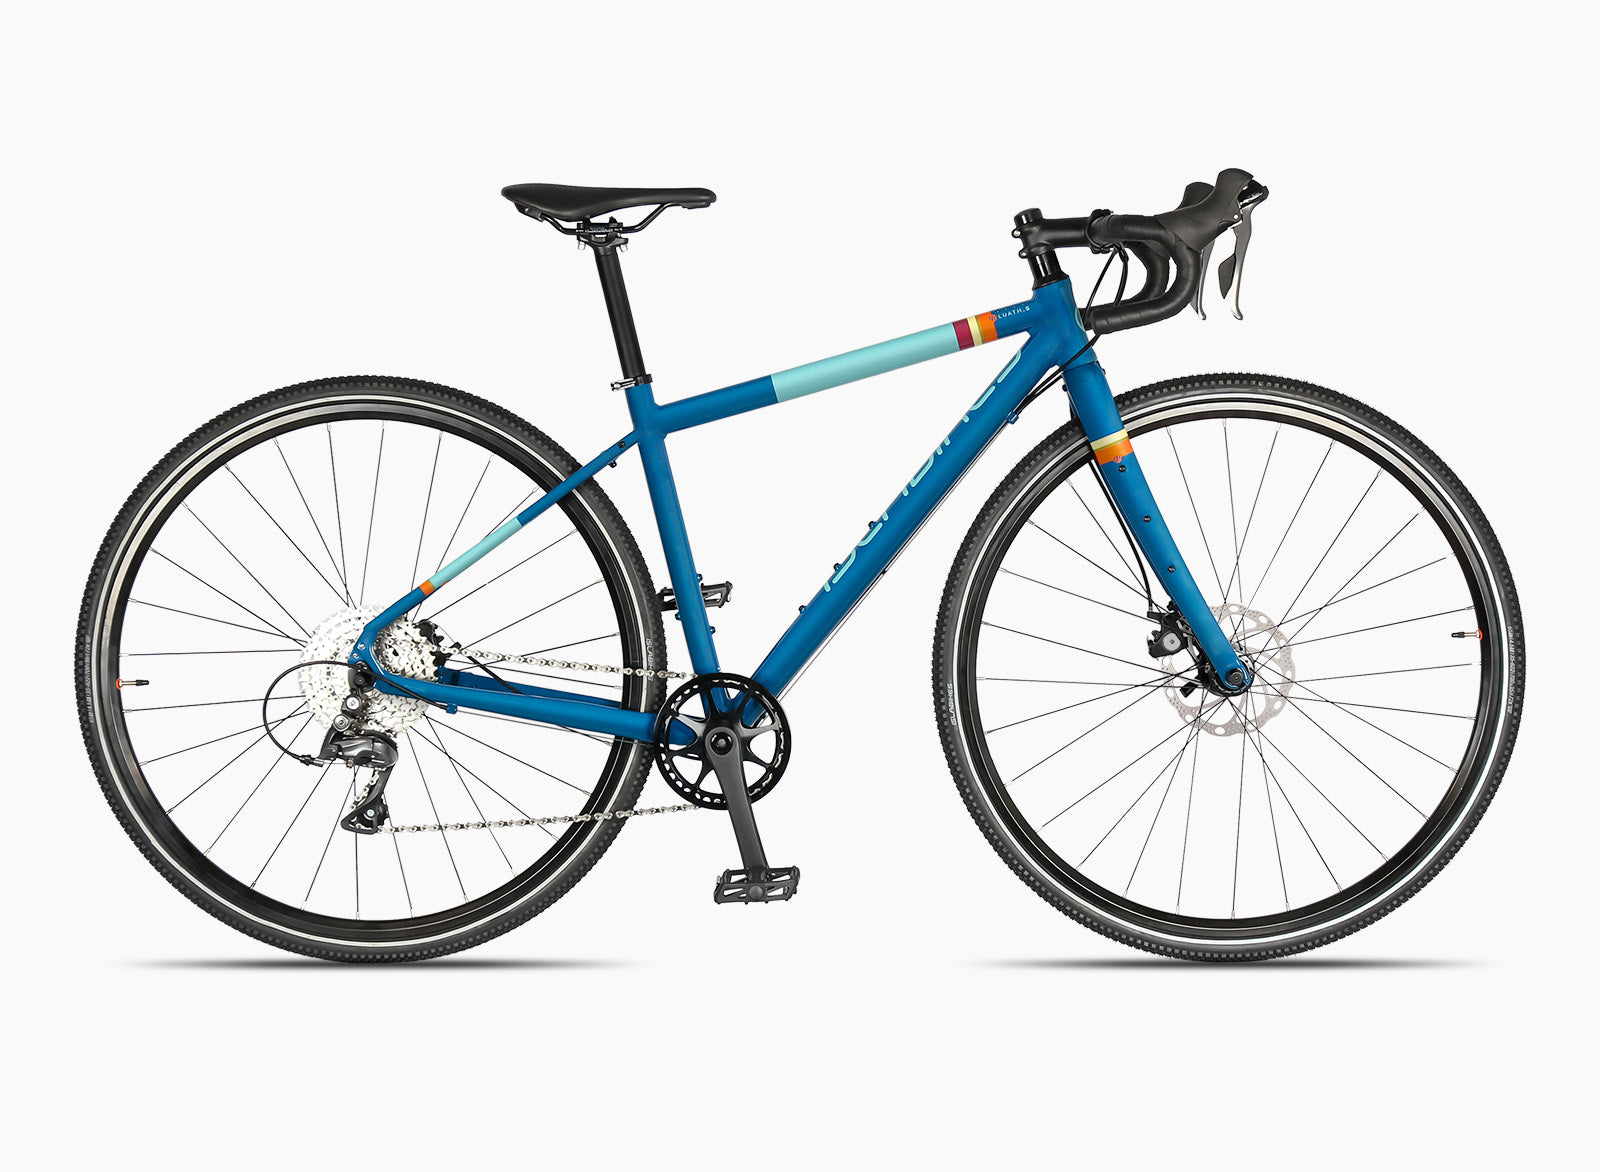
Luath
Multi-surface dropped handlebar bikes suitable for road, gravel and cyclocross. Sizes for adolescents and smaller adults.
Download specificationDownload manual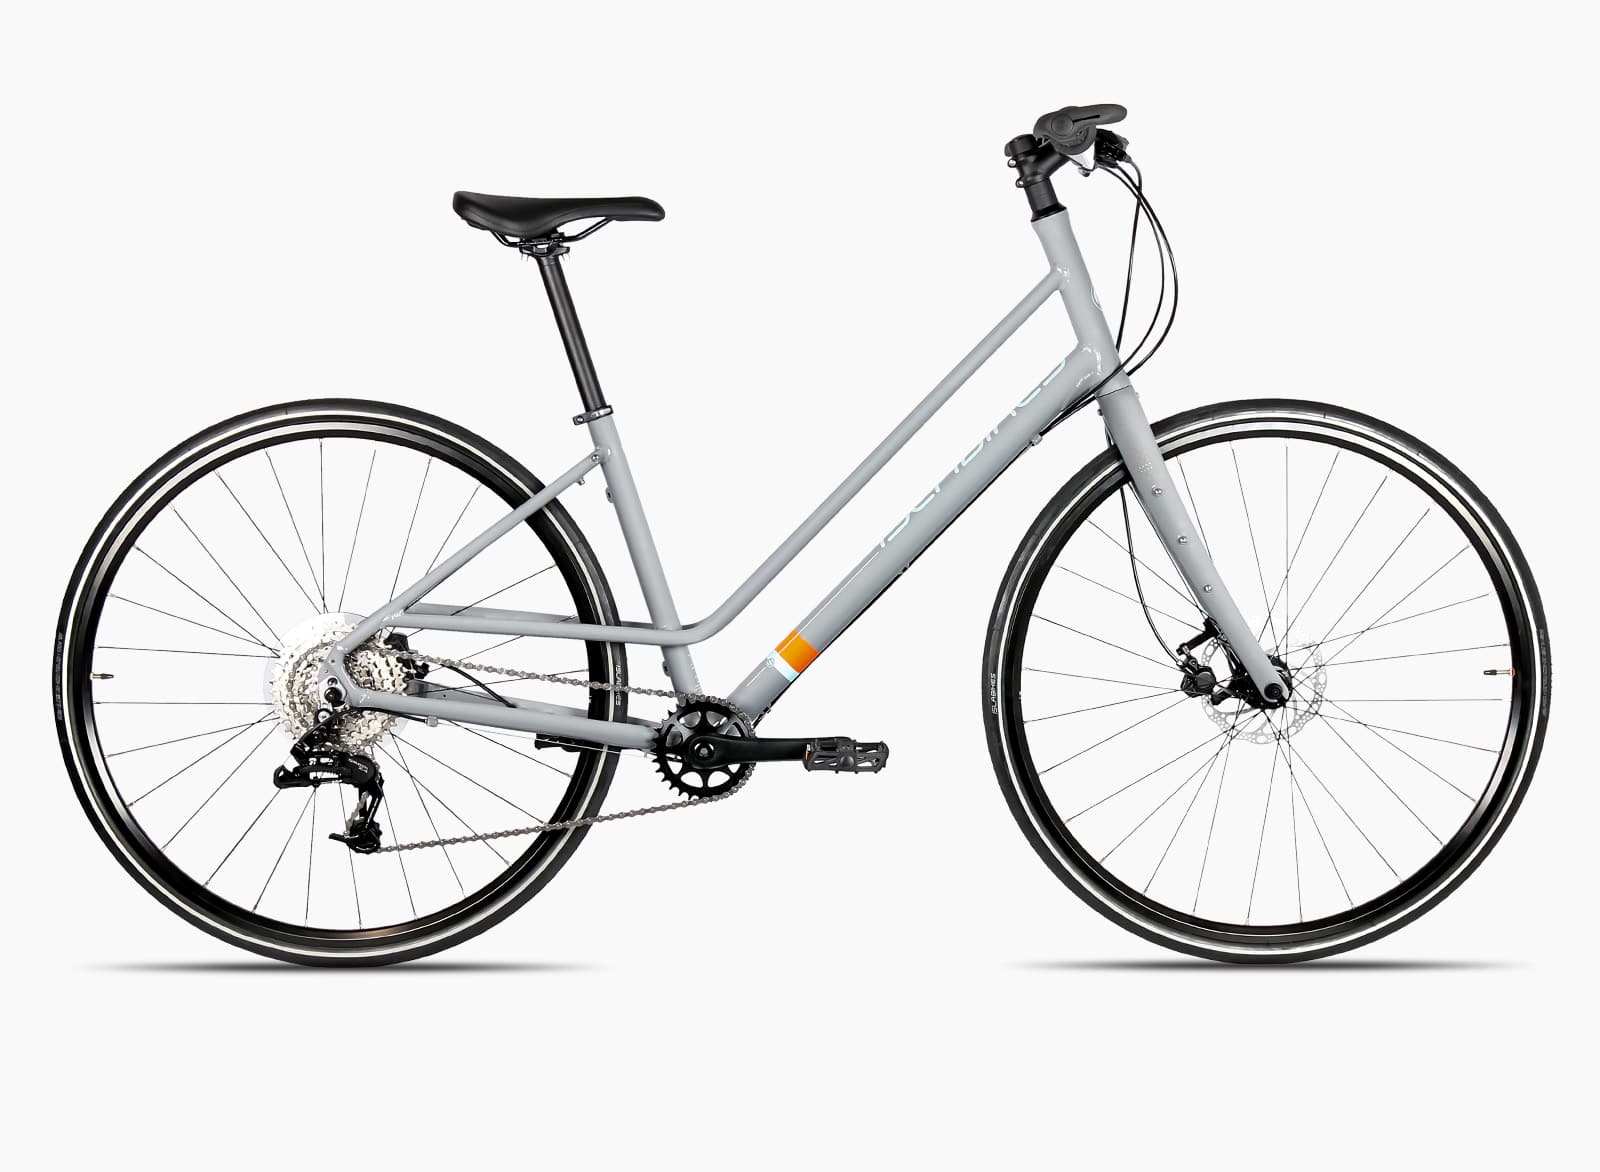


How to guides
How old is my Islabike?
Each Islabike has a unique sequential number allocated to it during manufacture. This number can’t tell us exactly how old your Islabike is, but using the chart below can tell the period of time in which your bike was made. Please note that we do not keep records of individual bike’s frame numbers.
Children’s bikes and Beinn 29:
- Note down the frame number. You will find this stamped into the bottom bracket shell on the underside of your bike's frame. Rothans were not allocated frame numbers until recently. If your Rothan has a frame number this will be stamped on the underside of the main frame tube.


- Ignoring the “AA” prefix, refer to the chart below to determine the approximate year of manufacture for your Islabike.
- For example: (AA)40412137 would have been produced between June 2014 and April 2016 where bikes were allocated frame numbers within the range 40412130 to 60100930.
If your Islabike’s frame number is formatted differently to these listed, or the number is below 00410273, it will pre-date 2010.
Children’s bikes and Beinn 29
| Approximate period of production | Frame numbers from: | Frame numbers to: |
|---|---|---|
| 2010 – August 2012 | AA00410273 | AA20500008 |
| September 2012 – May 2014 | AA20500009 | AA40414029 |
| June 2014 – April 2016 | AA40423891 | AA60100930 |
| May 2016 – July 2019 | AA60100931 | AA90500451 |
Other models quick reference:
Trailerbikes: pre 2010
Pro Series: all produced from 2016 to 2018
Janis, Jimi and Joni: introduced from 2018
eJanis and eJimi: introduced from 2020
Accessories and spares for previous generation Islabikes
Accessories such as mudguards and propstands for bikes that are not currently on our website are no longer available directly from us. You will likely be able to find compatible alternatives available from bike shops.
Other spare parts required to keep your Islabike ‘on the road’ may still be available from us.
For more information or support with spare parts please contact techsupport@islabikes.co.uk or call us on +44 (0) 1584 708 383 Monday - Friday, 9am-5pm.